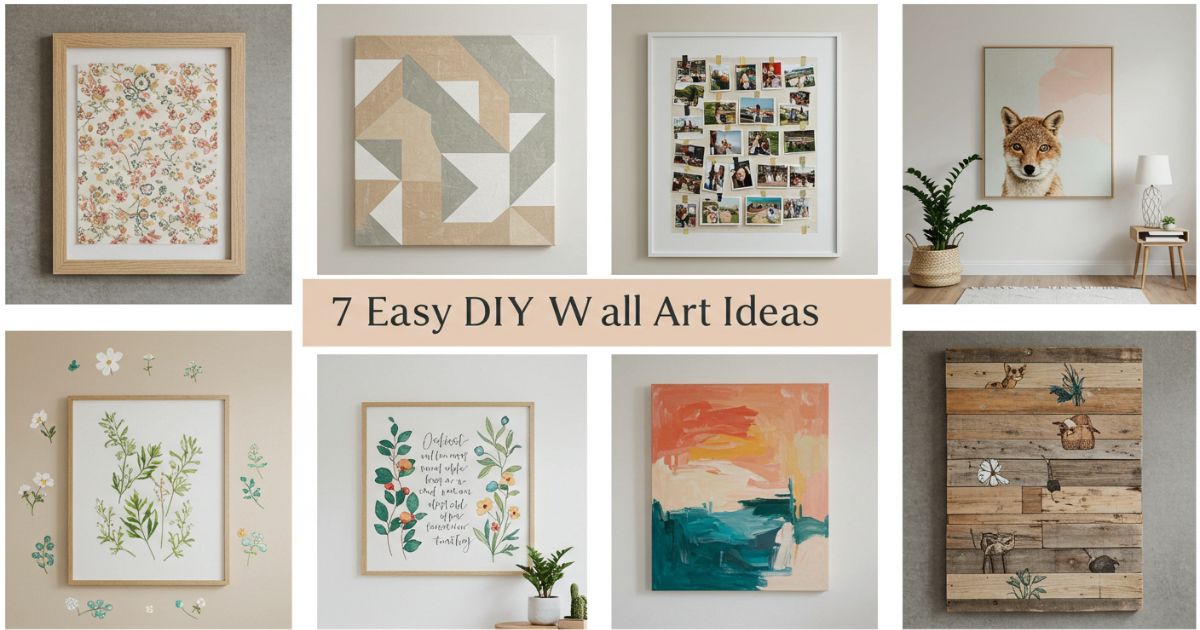
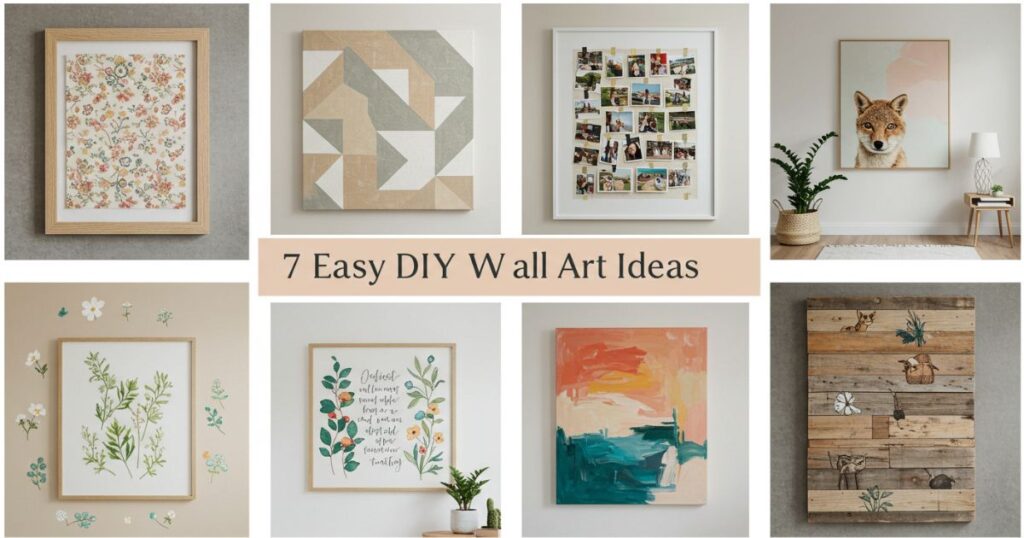
7 Easy DIY Wall Art Ideas to Transform Your Home
Wall art can make a world of difference in any room. It has the power to instantly elevate a space, add personality, and create an atmosphere that reflects your style. But, purchasing expensive art pieces isn’t always necessary. DIY wall art allows you to add your own personal touch to your home while saving money. Plus, crafting your own art can be a fun and rewarding experience.
Whether you’re a seasoned DIY pro or a beginner, there are plenty of simple yet stunning ideas to explore. Here are 7 easy DIY wall art ideas that will make your space feel more inviting, stylish, and uniquely yours.
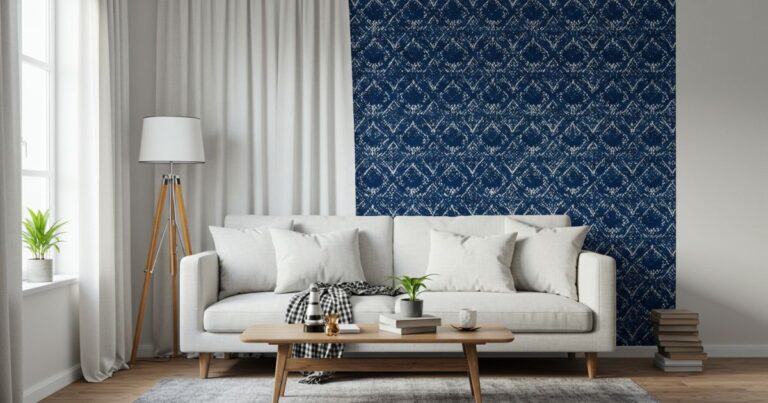
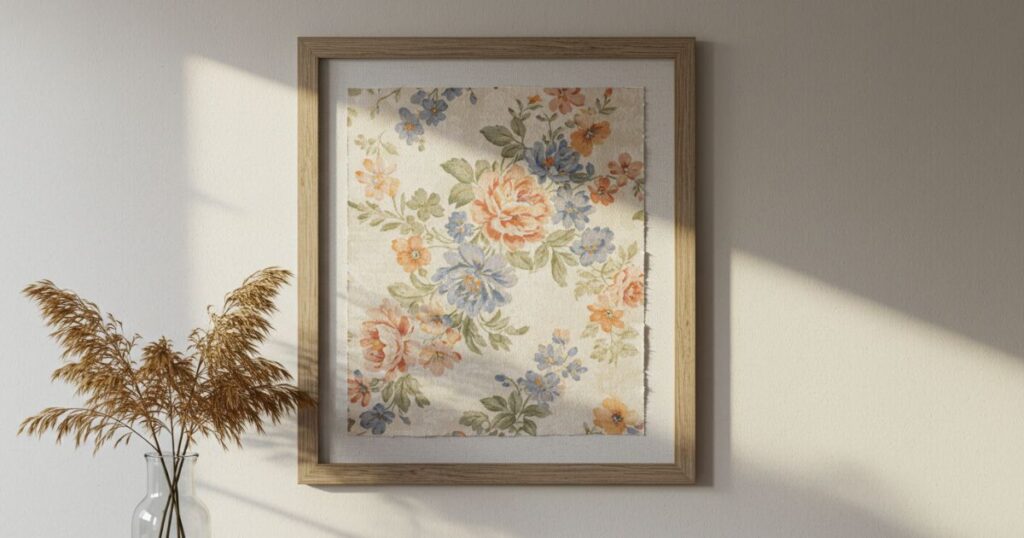
1. Framed Fabric Art
Fabric is an often overlooked material when it comes to wall art, but its texture and color can add a lot of depth to a room. Creating framed fabric art is simple, affordable, and highly customizable. You can choose fabric that complements your room’s color palette or experiment with different patterns and textures.
How to create it:
- Choose your fabric. You can use any fabric vintage, modern, floral, or even a textured linen.
- Cut the fabric to fit the size of your frame. If you’re using an old frame, make sure it’s clean and sturdy.
- Stretch the fabric over the frame and secure it at the back with a staple gun or tape.
- Hang the frame in your desired spot. For a gallery wall, use multiple frames with various fabrics for an eclectic look.
This type of wall art adds both color and texture to your walls without the need for complicated techniques. It’s an easy project that can be completed in an afternoon.
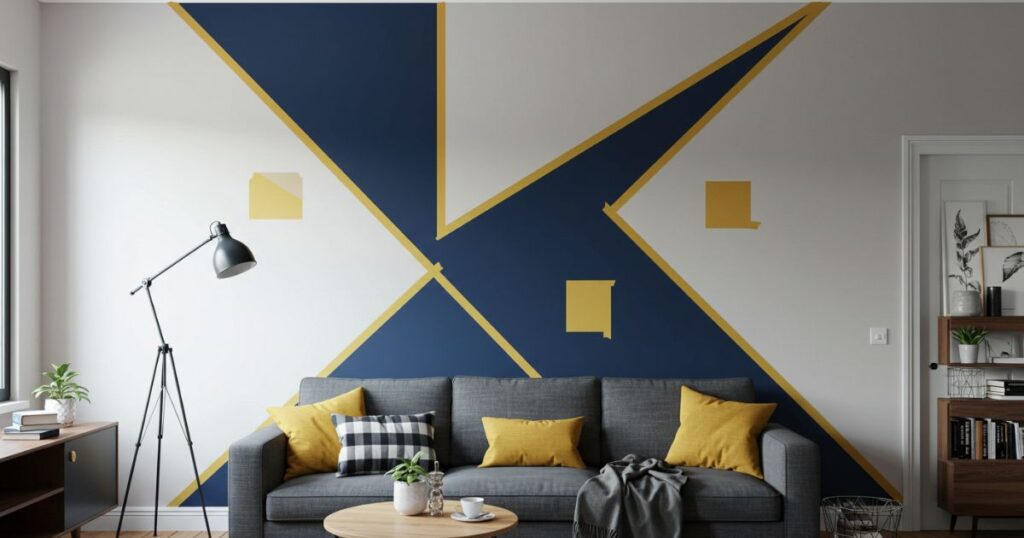
2. Geometric Wall Art with Painter’s Tape
For those who prefer a clean and modern look, creating geometric wall art with painter’s tape is a straightforward and fun project. Painter’s tape allows you to create sharp, clean lines, making it perfect for bold shapes and designs.
How to create it:
- Start by drawing out your design on a piece of paper. Think triangles, squares, or even abstract lines.
- Use painter’s tape to create the geometric shapes on your wall. Press the tape down firmly to prevent any paint from bleeding.
- Choose your paint colors. You can use two or three complementary colors or go for contrasting hues to make the shapes pop.
- Paint over the tape and let it dry. Once dry, carefully peel the tape off to reveal the crisp lines underneath.
- Allow the paint to cure for a few hours, and then you have your geometric masterpiece!
This technique works well on accent walls or smaller sections of a wall, and you can experiment with different shapes and colors to match your style.
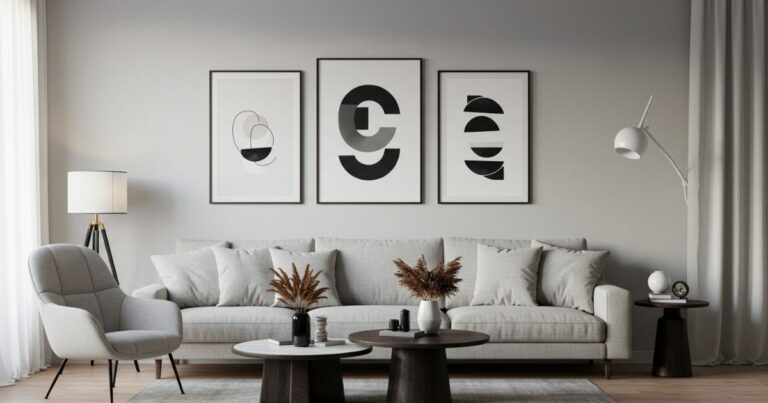
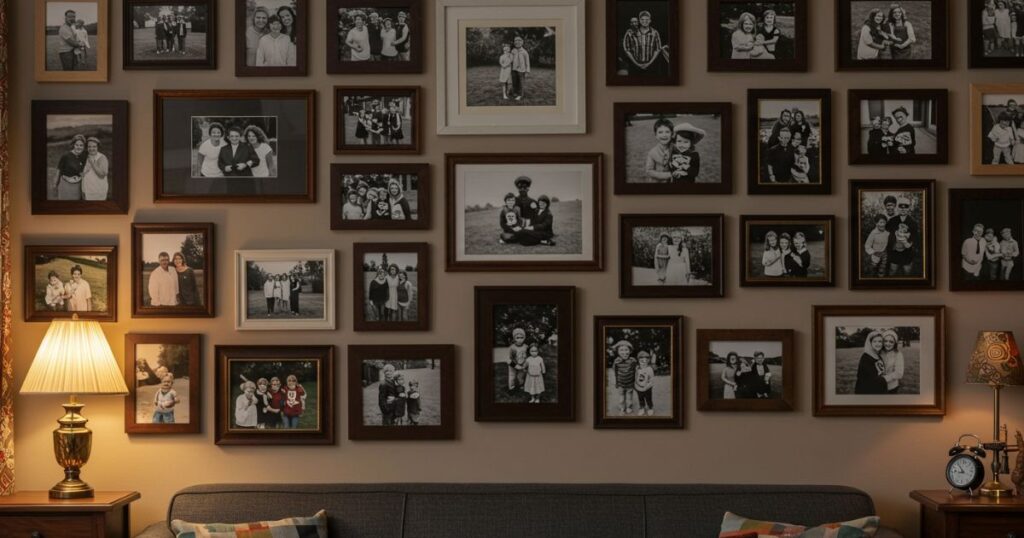
3. Gallery Wall with Family Photos
A gallery wall is an excellent way to showcase your favorite memories while adding a personal touch to your home. This DIY wall art idea is both meaningful and visually appealing, especially when framed family photos or candid moments are displayed.
How to create it:
- Start by gathering your favorite photos. You can mix black and white images with colorful ones, or choose a theme like vacations, holidays, or family portraits.
- Choose a variety of frames. You can mix and match frames of different sizes, shapes, and colors, or keep them uniform for a more organized look.
- Lay out your frames on the floor before hanging them to determine the best arrangement.
- Once you’ve found the right layout, use a level and measuring tape to hang the frames in a grid or more organic arrangement.
- Add small decorative elements like mirrors, botanical prints, or inspirational quotes between the photos to make the display even more unique.
This is a great way to transform an empty wall into a personal gallery that showcases your most treasured memories.
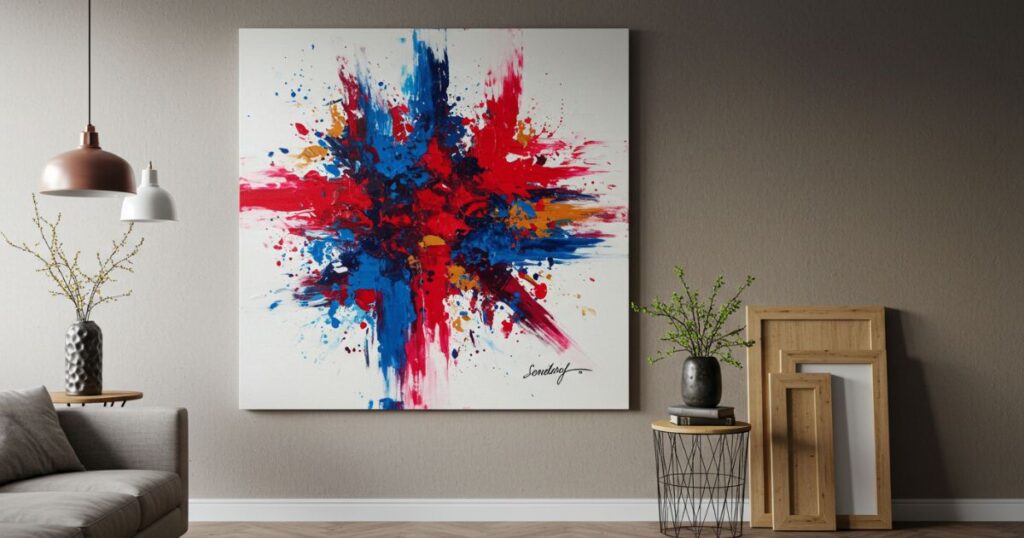
4. Abstract Canvas Painting
Abstract art is all about free expression. If you’re looking for a fun and easy way to add some color to your walls, creating your own abstract canvas painting is the perfect solution. You don’t need to be a professional artist to create a piece that looks good. The beauty of abstract art is that it’s all about experimenting with shapes, colors, and textures.
How to create it:
- Start by selecting your canvas size. You can use a large canvas for a statement piece or smaller ones for a more subtle touch.
- Gather your paints. Acrylic paints are ideal for this project because they’re easy to work with and dry quickly.
- Choose your colors. You can go for a monochromatic theme or mix contrasting hues for a vibrant effect.
- Start painting freely, layering colors and creating different shapes. Use brushes, sponges, or even your hands for different textures.
- Allow your painting to dry completely before hanging it.
Abstract art is a great way to add personality to your home while expressing your creativity. Plus, it’s a project that can be completed in a few hours!
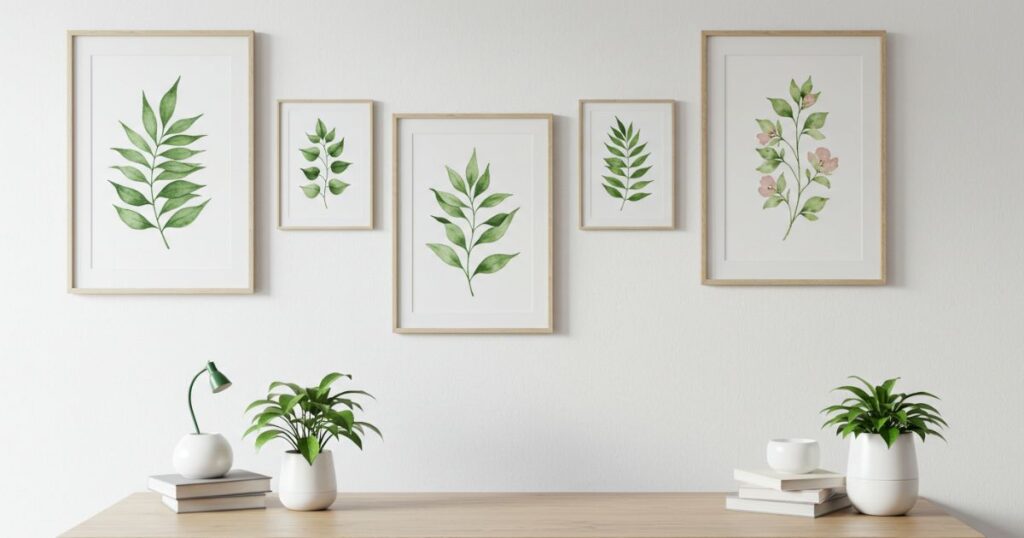
5. DIY Botanical Prints
Bringing nature indoors is an easy way to add a calming and refreshing vibe to any room. One of the best ways to do this is by creating your own botanical prints. You can either press real flowers and leaves or paint them yourself for a more artistic look.
How to create it:
- If you’re using real flowers and leaves, begin by pressing them between sheets of parchment paper for about a week or two.
- Once the flowers are pressed, you can frame them. Choose simple, minimalist frames to let the natural beauty of the flowers shine.
- Alternatively, you can paint your own botanical designs using watercolor or acrylic paint. Use a fine brush to capture the details of leaves, stems, and flowers.
- Frame the prints and arrange them on the wall. Grouping several small botanical prints together creates an appealing and cohesive look.
Botanical prints bring the outdoors inside and create a soothing, natural atmosphere in any room. It’s a simple project with a stunning result.
6. Wall Decals or Stickers
If you’re looking for an easy and quick wall art idea, wall decals or stickers are your go-to solution. These removable art pieces are available in various designs, including quotes, patterns, animals, and nature inspired prints. Wall decals allow you to easily change up your space without the commitment of traditional wall art.
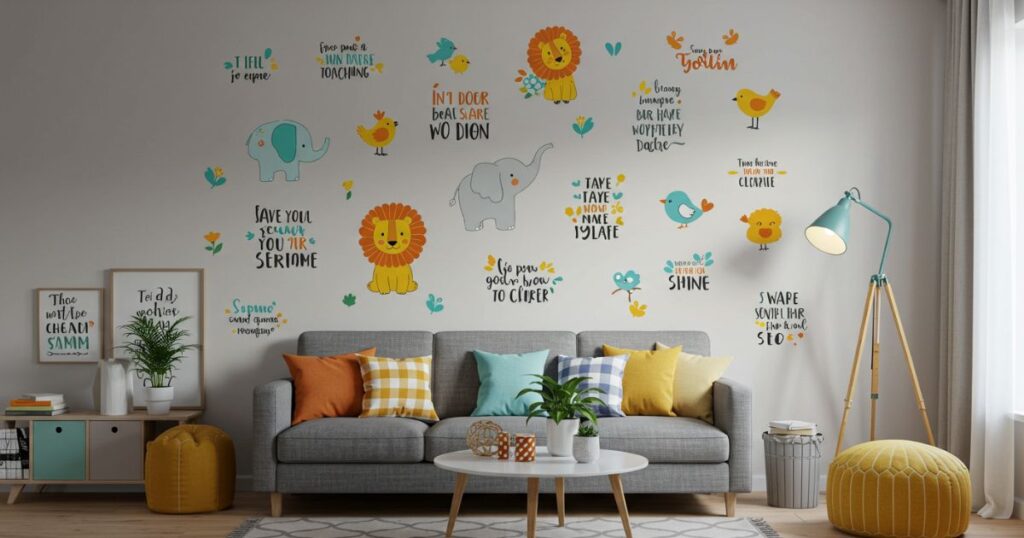
How to create it:
- Choose your decals. You can find a variety of options online, or create your own if you’re feeling creative.
- Clean the wall before applying the decals to ensure they adhere well.
- Position the decals where you want them. You can create a large, bold statement piece or use smaller decals to create a scattered pattern across the wall.
- Smooth out any air bubbles as you apply them to ensure they lie flat against the wall.
This is a great option for renters or anyone who loves the idea of changing up their wall art frequently. Plus, it’s super easy to install and remove!
7. Upcycled Wooden Plank Art
If you have old wooden planks lying around or want to recycle old furniture, upcycled wooden plank art is a fantastic way to create rustic wall art. The natural texture and warmth of wood add an earthy and inviting feel to any room.

How to create it:
- Gather wooden planks or any leftover wood pieces. You can find these at a local hardware store or even use reclaimed wood from old furniture.
- Sand the wood down to remove any rough spots and apply a coat of stain or paint. If you prefer a more rustic look, you can leave the wood unfinished.
- Once dry, arrange the planks vertically or horizontally to create a statement piece. You can leave them in their natural state or paint them in varying shades for contrast.
- Secure the planks to the wall with nails or brackets.
This type of wall art works well in both modern and rustic settings and is perfect for adding warmth and character to a room.
FAQs About Easy DIY Wall Art Ideas
Q: How do I make my DIY wall art look professional?
A: Pay attention to detail and ensure clean lines and finishes. Take your time with measurements, and if you’re framing something, ensure the frame is secure and level. You can also use a level to align your artwork perfectly on the wall.
Q: How can I make my DIY wall art fit with my existing decor?
A: Choose colors and designs that complement your room’s existing color palette. You can also match the style of your DIY wall art to the room’s theme. For example, if your space has a minimalist design, opt for subtle, simple wall art like geometric shapes or monochromatic prints.
Q: How long does it take to make DIY wall art?
A: The time required depends on the complexity of the project. Simple projects like framing fabric or using decals can take as little as an hour, while more involved projects like abstract painting or creating upcycled wood art may take a few hours or even a day.
Conclusion
Creating your own DIY wall art is a great way to express your creativity while adding personality and style to your home. Whether you prefer simple, minimalist designs or bold, abstract pieces, there’s a DIY wall art idea for everyone. With just a few materials and a little time, you can transform your space into a reflection of your unique taste.
Let your creativity flow, and have fun crafting your own wall art that will make your home feel even more like yours.